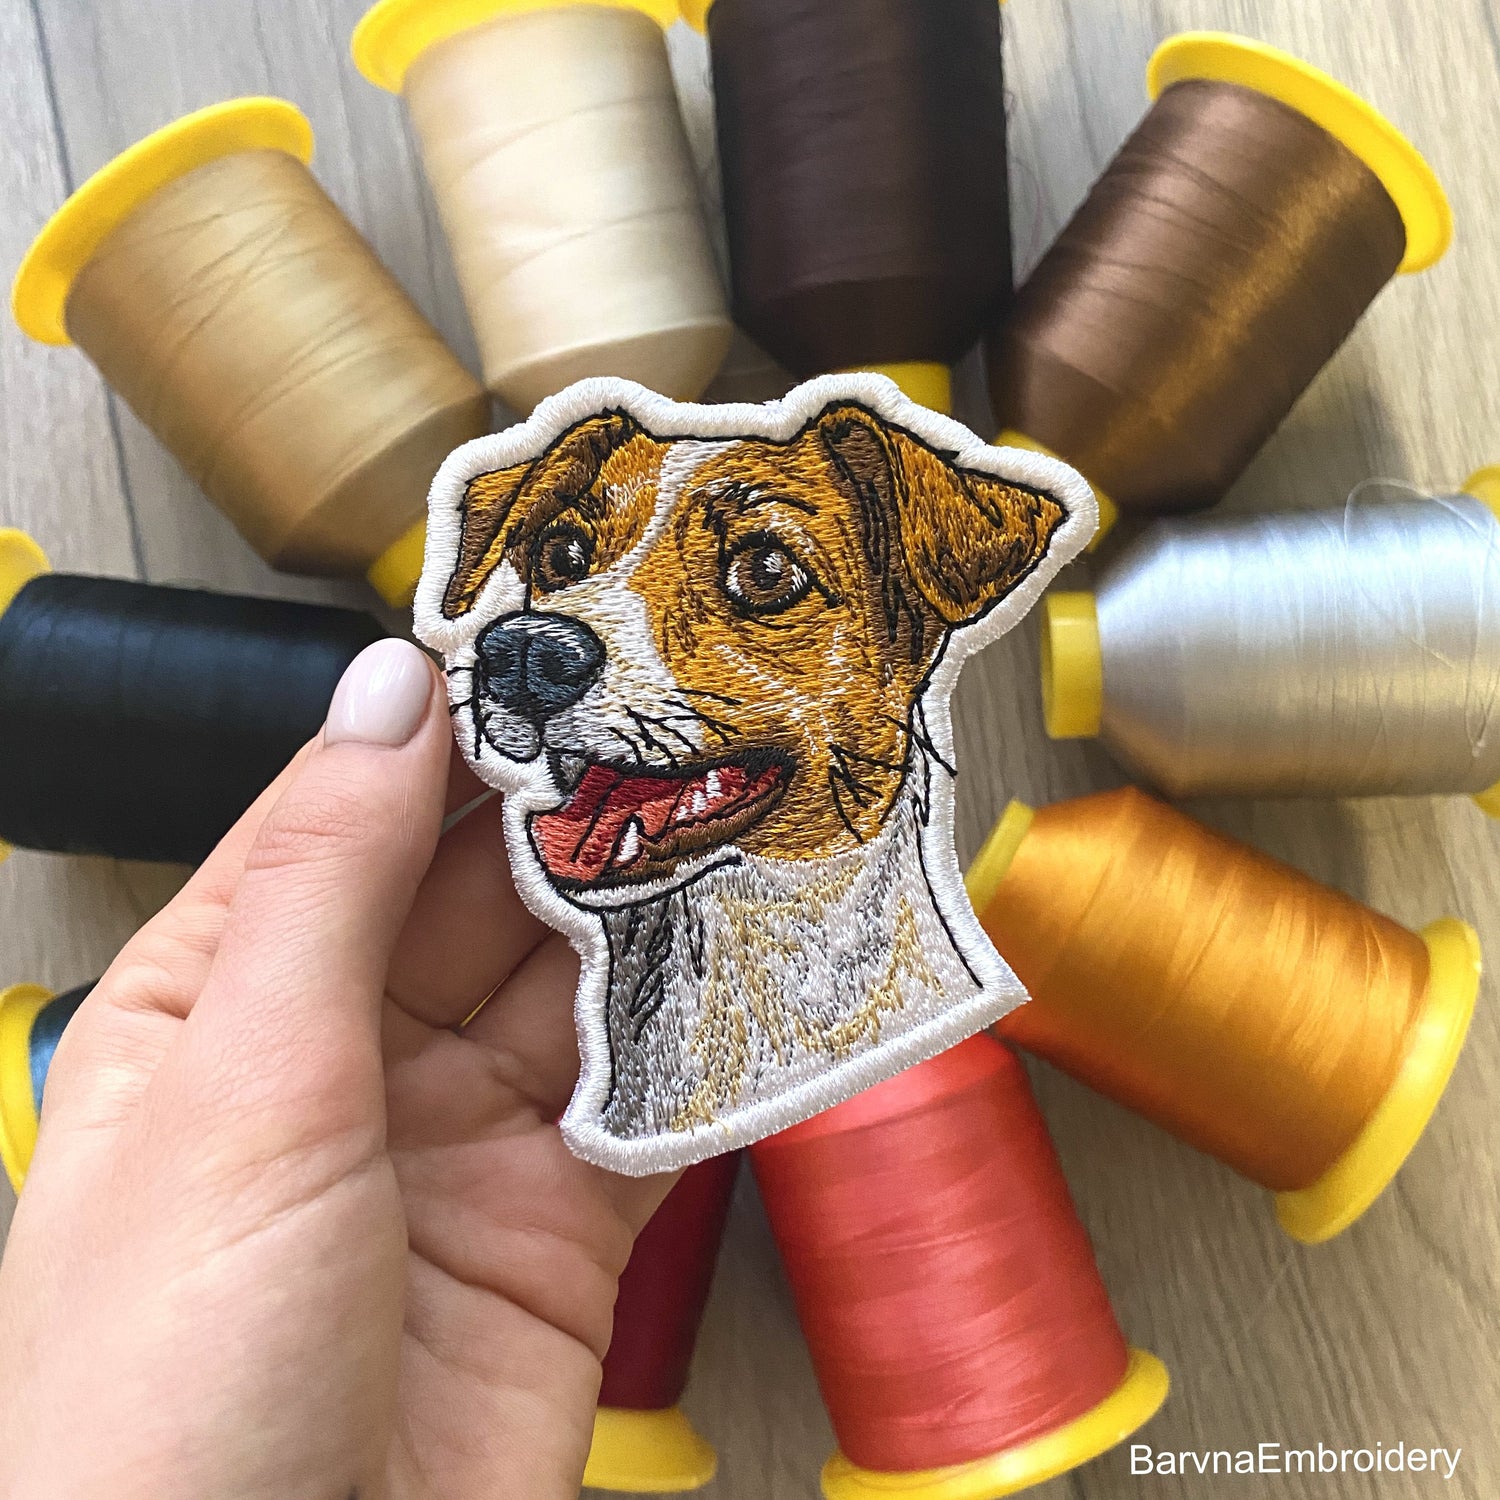
How to make a patch.

Hello dear friends
I had a desire to create designs of dogs and cats of various breeds in the form of patches.
So, the first patch is a Jack Russell Terrier dog, and based on it, I will be happy to tell you about the process of creating a patch. In fact, it's quite simple to create, and if you're a beginner, I'm sure you'll get it right the first time.
So, let's move on to the creation process:
1. Prepare all the necessary materials for creating a patch.For my example, I choose Gabardine fabric. It is important to choose a fabric that will notstretch, of medium density.I use Lightweight Iron-On Nonwoven in two layers to stabilize the fabric on the backing. Glue with an iron. If the fabric is dense, it is enough to glue in one layer.Additionally, I use a Tear-Away Stabilizers.
2. Tuck the fabric together with the stabilizers into the hoop. You can use other types ofstabilization, the main thing is that the fabric is well fixed in the hoop.
3. Embroider the design.
4. Remove the Tear-Away Stabilizers.

5. Cut off a small piece of Iron-On Nonwoven. It is important that it covers all the edges of thepatch. If you want the patch to be more dense, then you can use two layers of stabilizer.
6. Glue the stabilizer with an iron.
7. Carefully cut the patch along the contour.
8. The patch is ready. Now you can sew it to any product along the contour of the satin roller, orusing a special glue for patch.


